> ## Documentation Index
> Fetch the complete documentation index at: https://koreai-apis.mintlify.site/llms.txt
> Use this file to discover all available pages before exploring further.
# Manage Data
> Upload, download, and delete datasets in the Data module. Import CSV files or generate synthetic test data for Prompt Studio experiments.
The **Data** module stores datasets for reuse across prompt testing and model fine-tuning. It supports CSV, JSON, and JSONL formats with no additional formatting requirements.
## Upload a Dataset
1. In the AI for Process top menu, click **Data**.
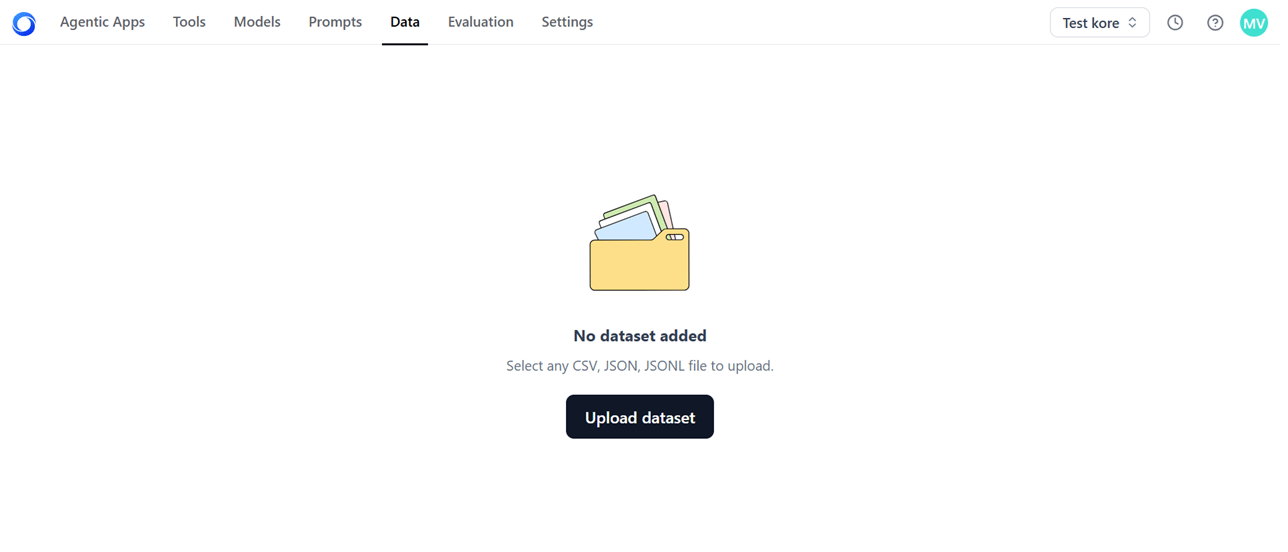 2. Click **Upload dataset** and select your file. The uploaded file appears on the Data page.
Files uploaded in Prompt Studio or the Models fine-tuning wizard are automatically saved to the Data tab for future use.
## Download or Delete a Dataset
Deleting a dataset that is used in Playground experiments may cause errors.
1. In the AI for Process top menu, click **Data**.
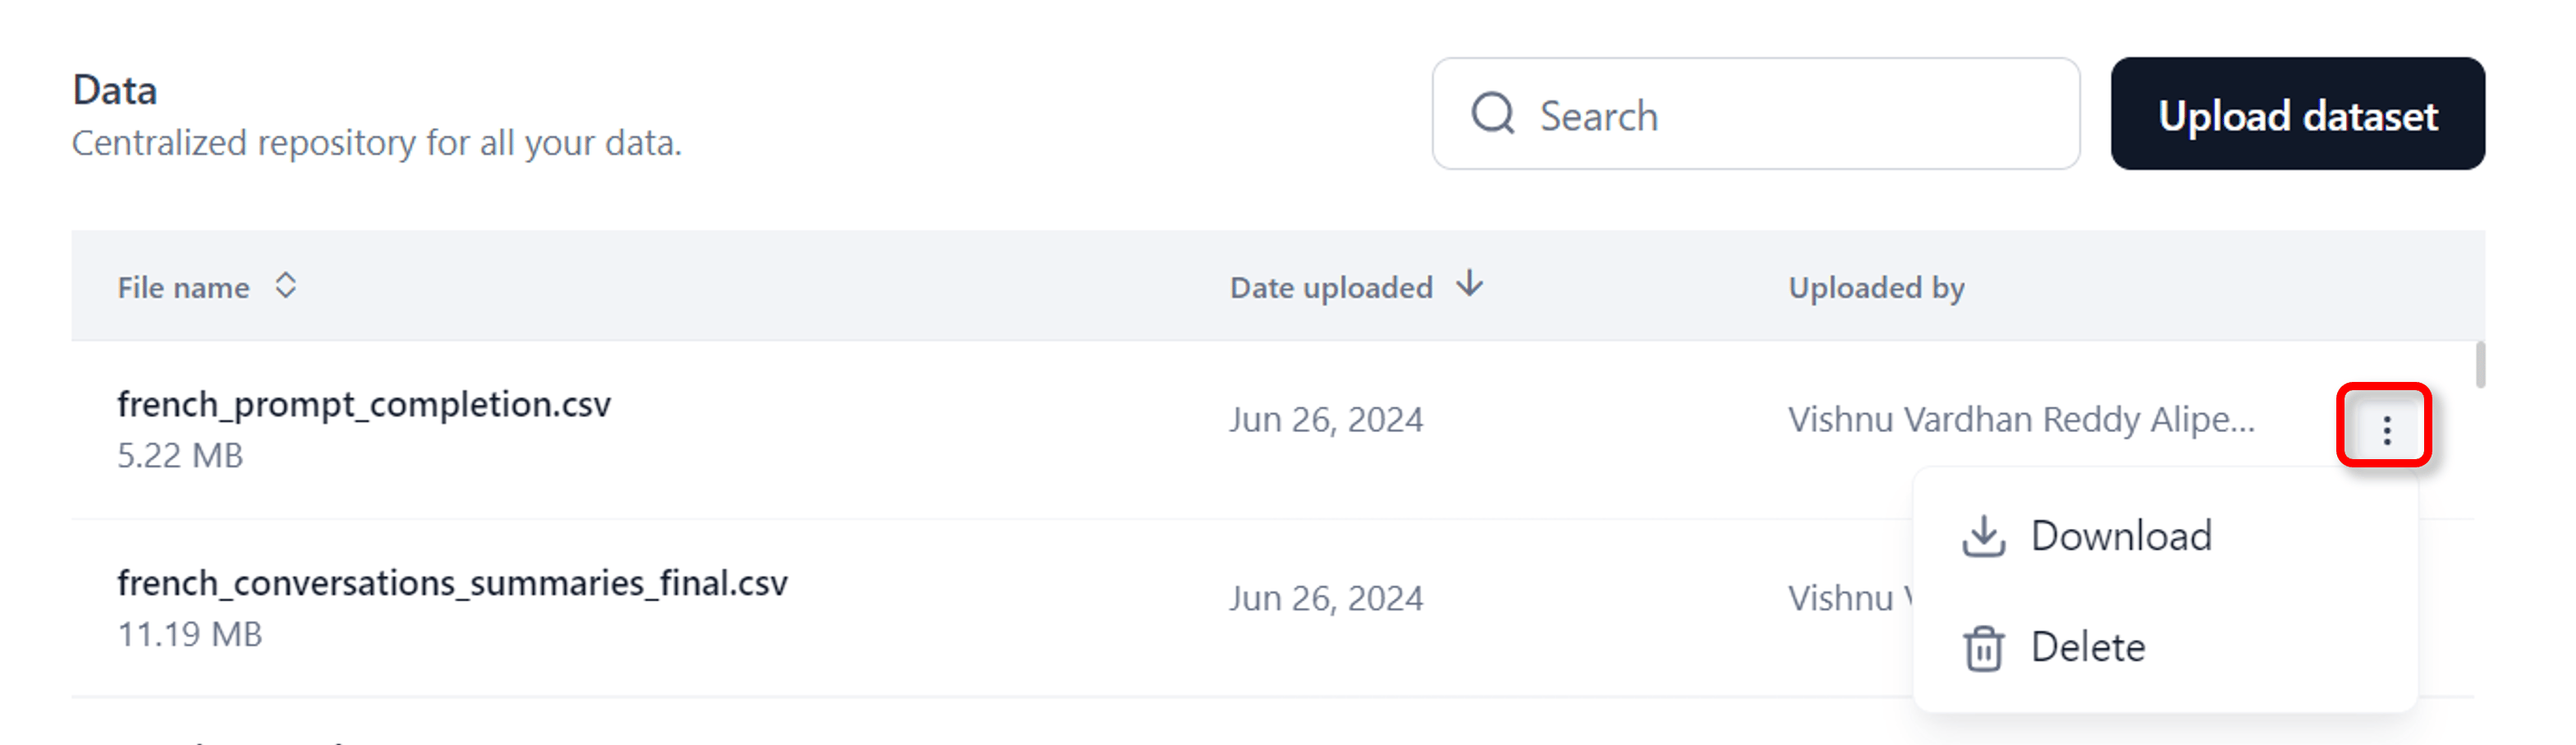
2. Click the three-dots icon in the last column and choose **Download** or **Delete**.
2. Click **Upload dataset** and select your file. The uploaded file appears on the Data page.
Files uploaded in Prompt Studio or the Models fine-tuning wizard are automatically saved to the Data tab for future use.
## Download or Delete a Dataset
Deleting a dataset that is used in Playground experiments may cause errors.
1. In the AI for Process top menu, click **Data**.
2. Click the three-dots icon in the last column and choose **Download** or **Delete**.
 ## Test Data in Prompt Studio
Prompt Studio provides two ways to work with test data:
* **Import test data**: Upload a CSV file to populate prompt variables automatically.
* **Generate test data**: Create synthetic datasets based on your prompt and variables.
### Import Test Data
The system reads up to 10 rows from the CSV and maps column names to prompt variables. Column names are case-sensitive and must match variable names exactly — for example, `{{Name}}` requires a column named `Name`. Data must start from the first row and column of the file.
You can import a maximum of 10 rows at a time.
1. On the prompt canvas, click **Test data** > **Import test data**.
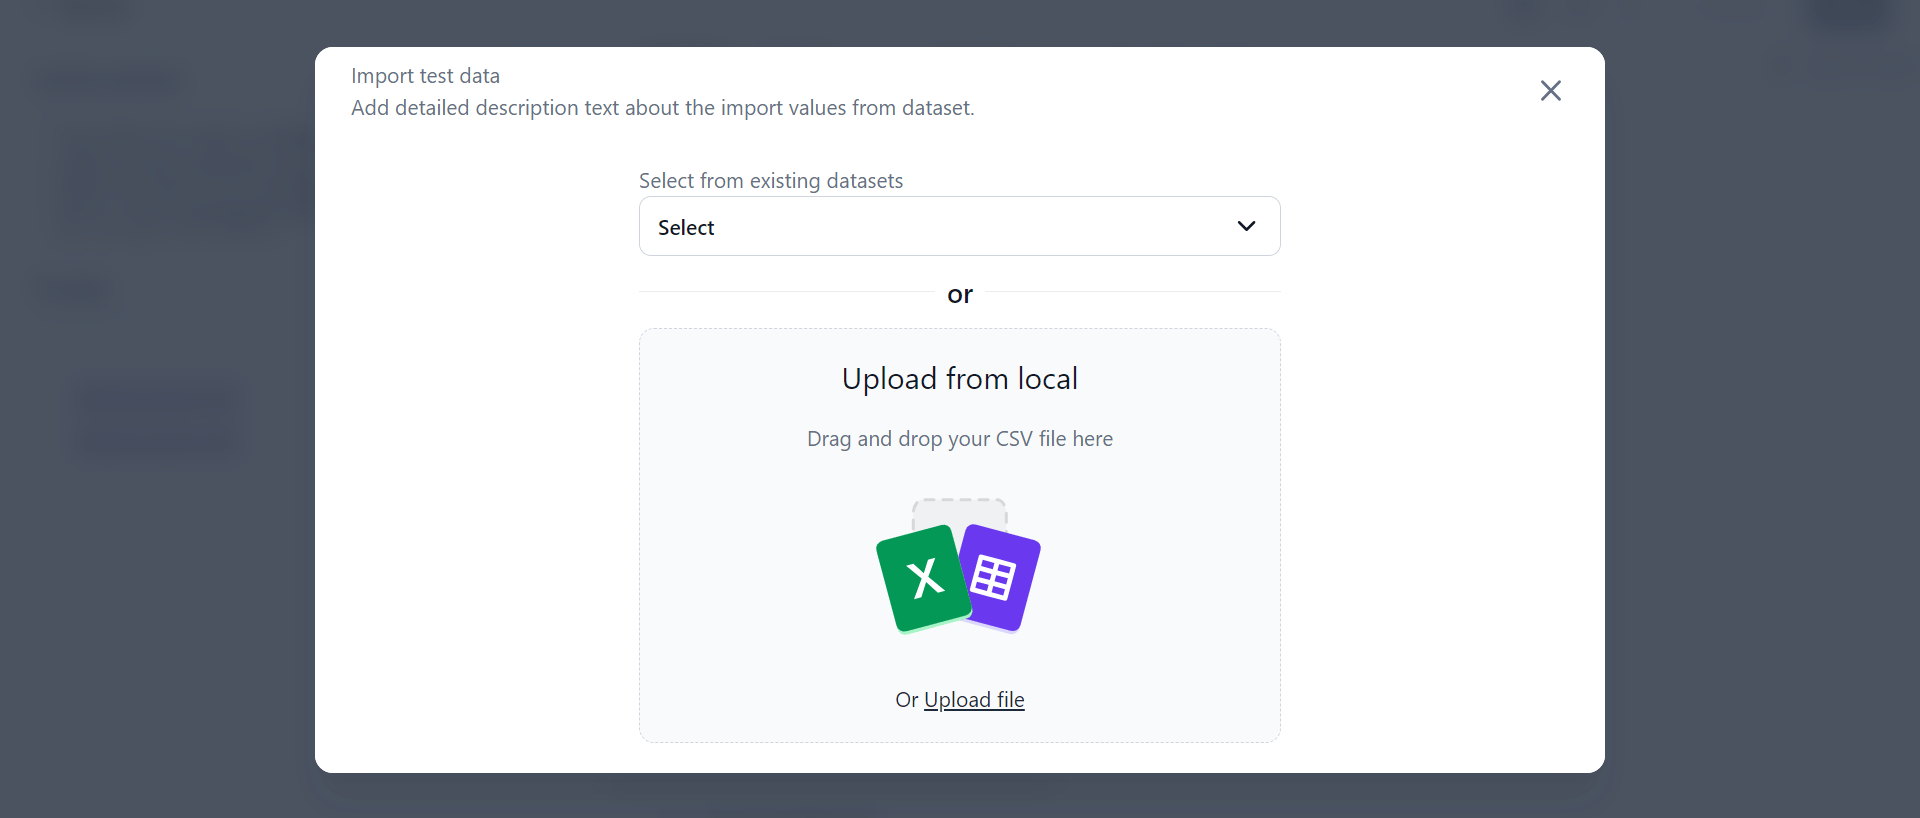
2. In the **Import test data** dialog, upload a CSV from your computer or select an existing dataset.
## Test Data in Prompt Studio
Prompt Studio provides two ways to work with test data:
* **Import test data**: Upload a CSV file to populate prompt variables automatically.
* **Generate test data**: Create synthetic datasets based on your prompt and variables.
### Import Test Data
The system reads up to 10 rows from the CSV and maps column names to prompt variables. Column names are case-sensitive and must match variable names exactly — for example, `{{Name}}` requires a column named `Name`. Data must start from the first row and column of the file.
You can import a maximum of 10 rows at a time.
1. On the prompt canvas, click **Test data** > **Import test data**.
2. In the **Import test data** dialog, upload a CSV from your computer or select an existing dataset.
 3. Review the data preview and click **Proceed**.
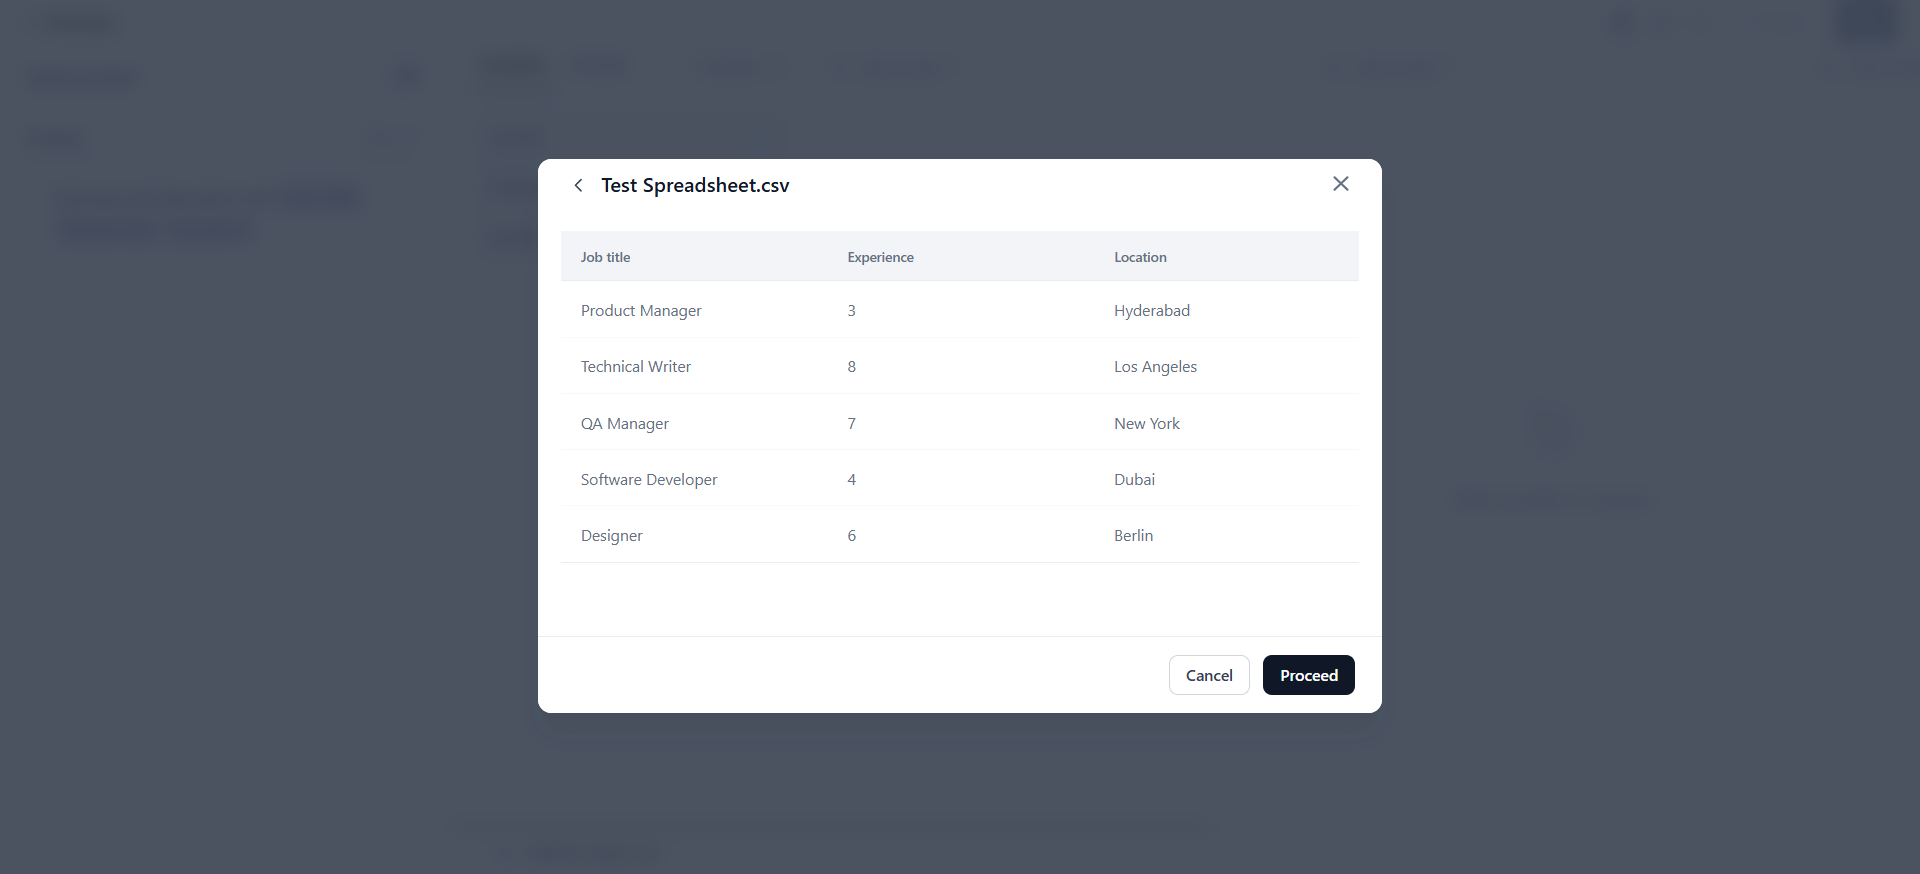 Variable values populate in the Variables window and are substituted during prompt execution.
### Generate Test Data
Generate synthetic test datasets without creating data manually. The system analyzes your prompt and variables to produce contextually relevant values.
* You can generate a maximum of 5 rows at a time.
* Only OpenAI and Anthropic models are supported for test data generation.
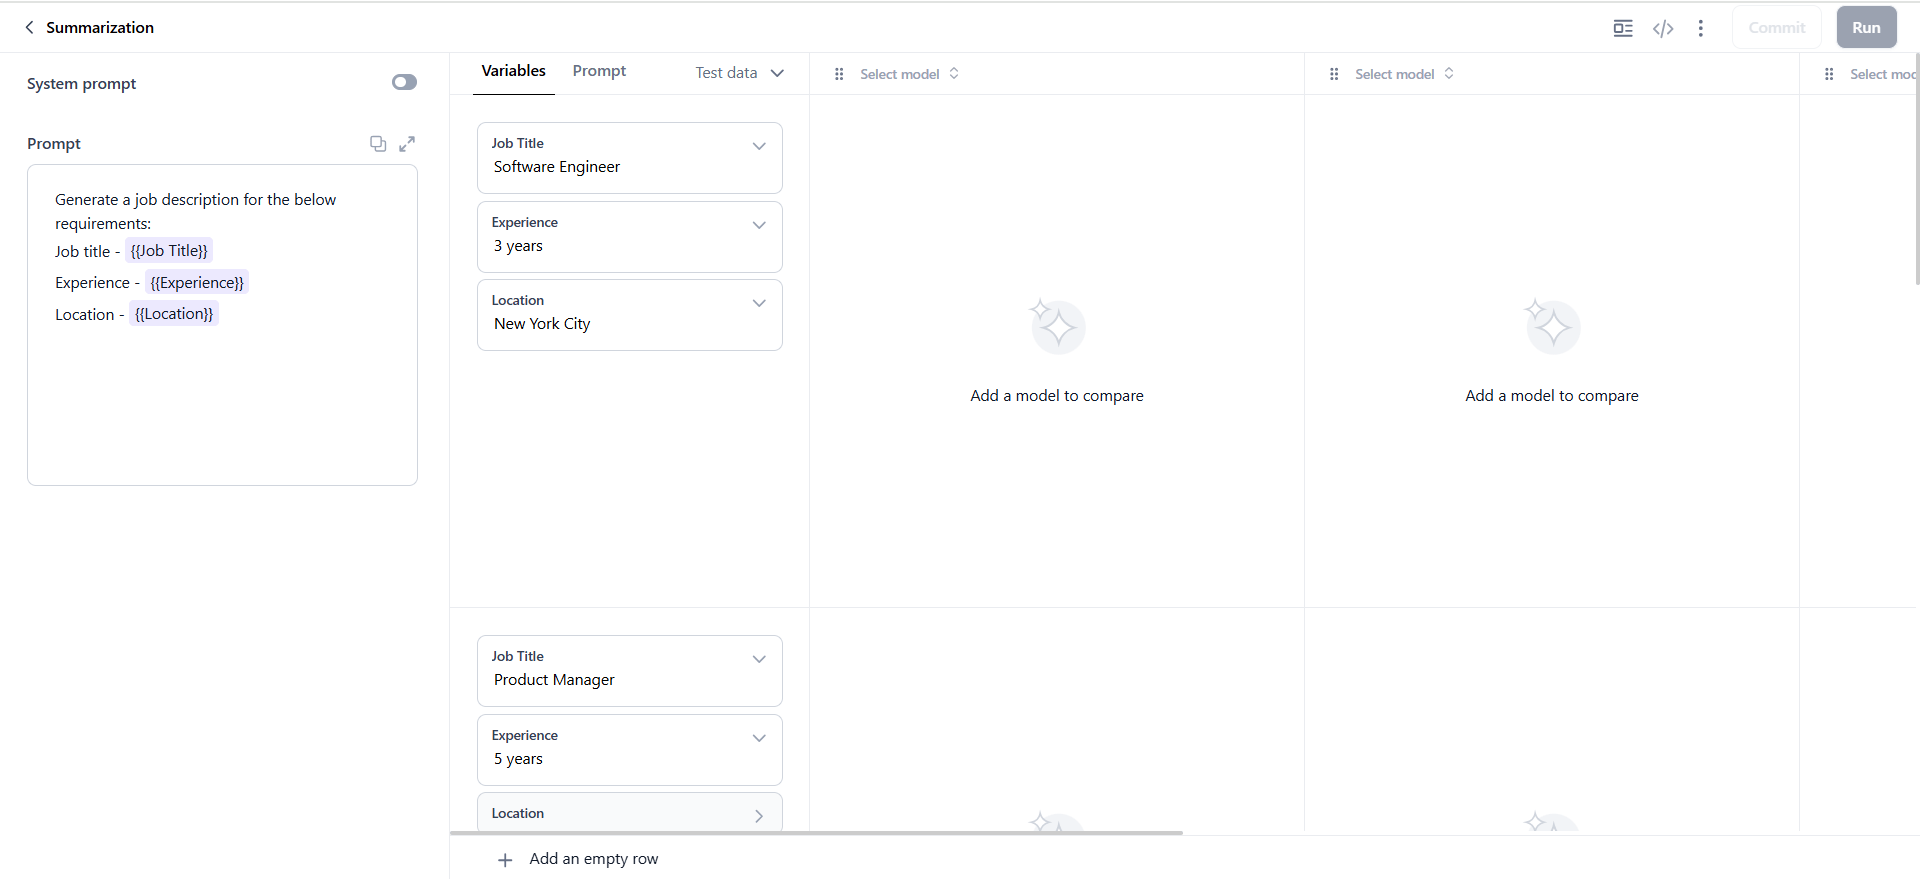
1. On the prompt canvas, enter your prompt. For example: "Generate a job description with job title, experience, and location."
2. Add variables using double curly braces: `{{Job Title}}`, `{{Experience}}`, `{{Location}}`. The **Test data** option appears.
3. Click **Test data** > **Generate test data**. Select a model, specify the number of rows, and click **Generate**.
Variable values populate in the Variables window and are substituted during prompt execution.
### Generate Test Data
Generate synthetic test datasets without creating data manually. The system analyzes your prompt and variables to produce contextually relevant values.
* You can generate a maximum of 5 rows at a time.
* Only OpenAI and Anthropic models are supported for test data generation.
1. On the prompt canvas, enter your prompt. For example: "Generate a job description with job title, experience, and location."
2. Add variables using double curly braces: `{{Job Title}}`, `{{Experience}}`, `{{Location}}`. The **Test data** option appears.
3. Click **Test data** > **Generate test data**. Select a model, specify the number of rows, and click **Generate**.
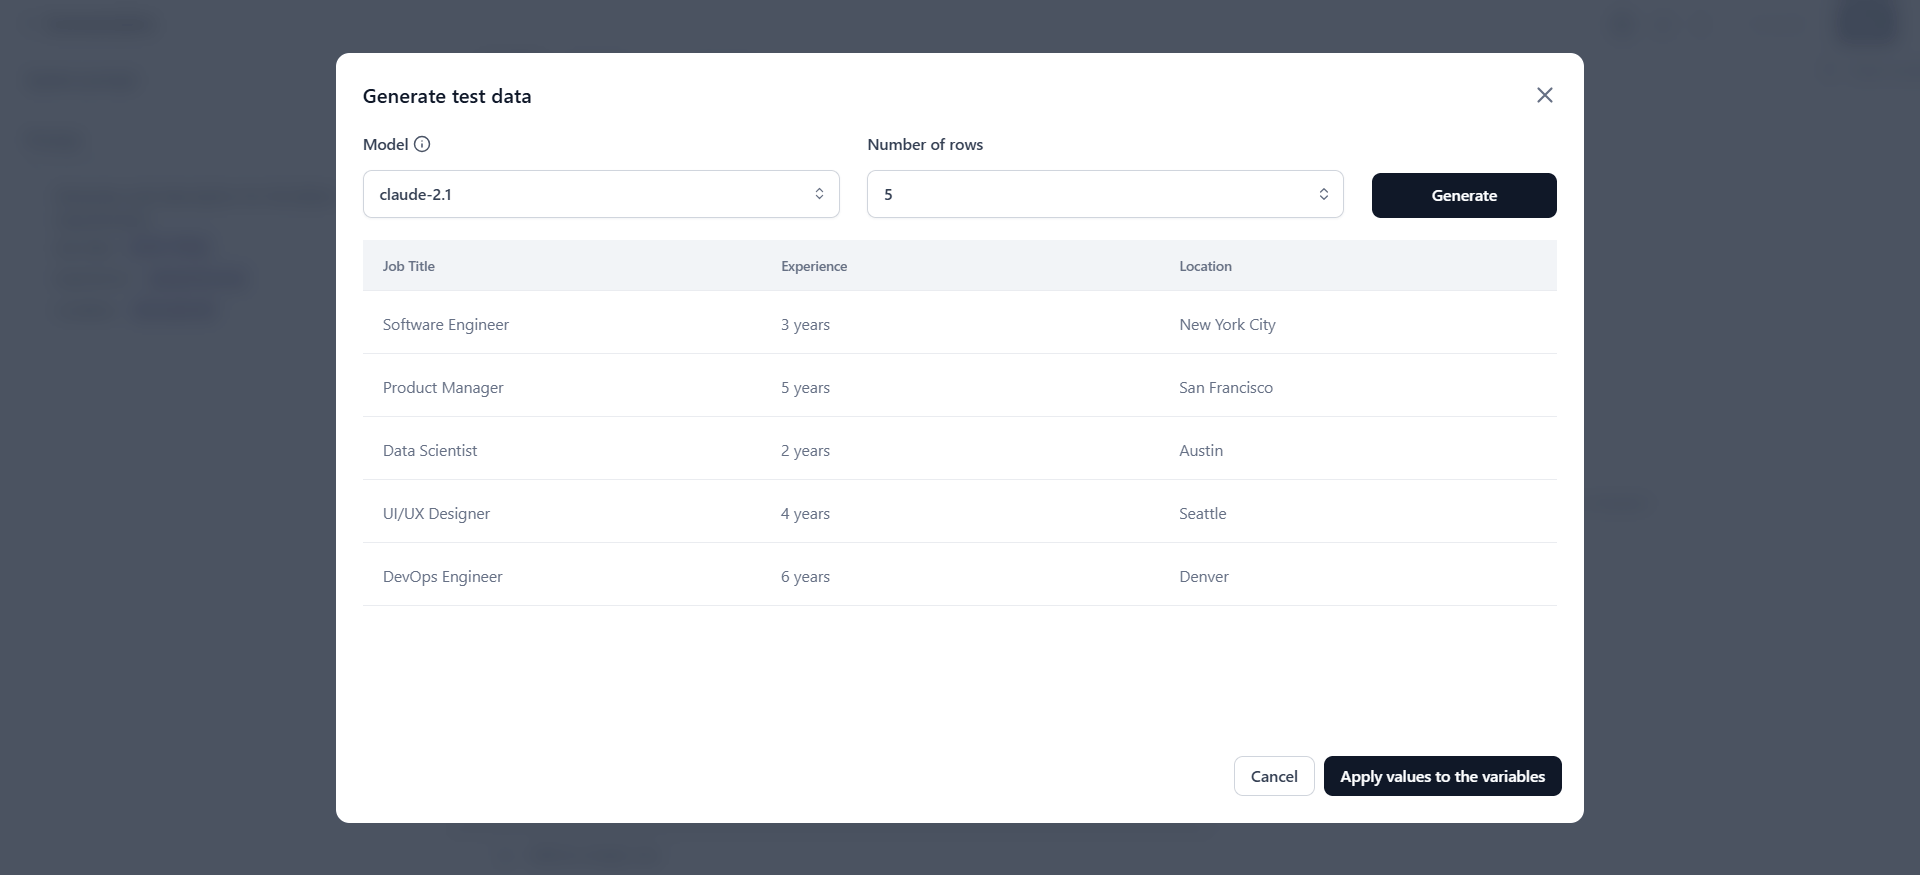 4. Preview the generated dataset.
5. Click **Apply value to the variables** to populate the prompt canvas.
4. Preview the generated dataset.
5. Click **Apply value to the variables** to populate the prompt canvas.